Outdoor banners are one of the most effective ways to promote your business, whether you’re advertising an event, launching a new product, or increasing brand awareness. But hiring a designer can be costly, and you might want full creative control over your banner. That’s where Canva comes in—a free, user-friendly design tool that allows you to create professional-looking banners in minutes.
In this guide, we’ll walk you through how to design an eye-catching outdoor banner using Canva, ensuring it’s print-ready and optimized for maximum impact.
Why Use Canva for Banner Design?
Canva is an ideal design tool for business owners because:
✔ It’s easy to use – No design experience needed.
✔ It offers pre-made templates – Speeds up the design process.
✔ It has a drag-and-drop interface – Makes customization simple.
✔ It’s free (with optional premium features) – Cost-effective for small businesses.
Now, let’s get started on designing your banner!
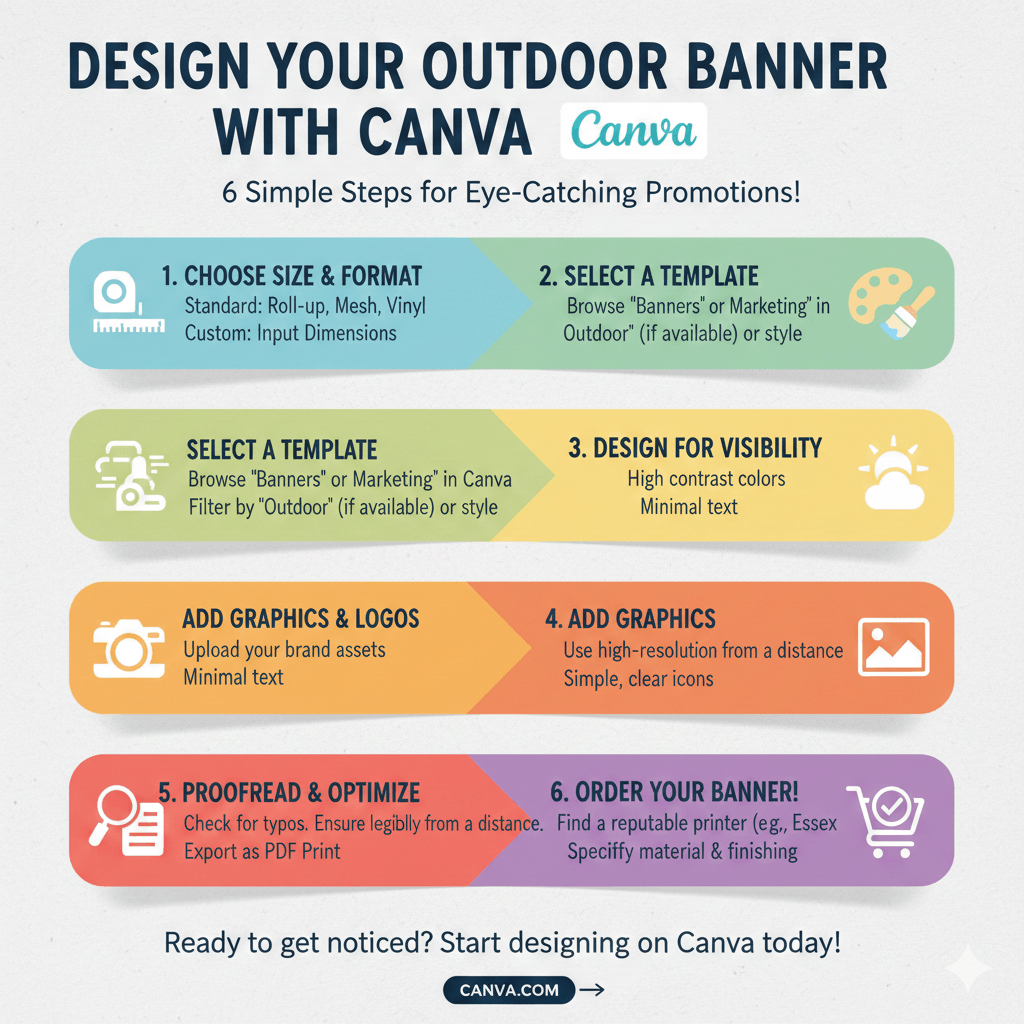
Step 1: Choose the Right Banner Size
Before you start designing, you need to determine the size of your banner. Outdoor banners come in various dimensions, but some standard sizes include:
- 2m x 1m – Ideal for shop fronts, events, or promotional displays.
- 3m x 1m – Great for roadside advertising or event sponsorships.
- 4m x 1m – Perfect for large-scale promotions.
Setting Up Your Canva Canvas
1. Go to Canva.com and log in or sign up.
2. Click “Create a design” and select “Custom size.”
3. Enter the banner dimensions (e.g., 2000 x 1000 pixels for a 2m x 1m banner).
4. Click “Create new design.”
Now, you’re ready to start designing!
Step 2: Choose a Background
Your background sets the tone for your banner. Canva provides several options:
- Solid Colours: Choose a color that aligns with your brand identity.
- Gradients: Subtle color transitions can make your design more dynamic.
- High-Quality Images: If using photos, ensure they are high resolution to avoid pixelation when printed.
- Patterns & Textures: Add depth with simple patterns or textures.
Pro Tip: If your banner will be viewed from a distance, use high-contrast colors to improve readability.
Step 3: Add Your Text & Branding
Your banner should communicate a clear message at a glance. Here’s how to structure it:
Headline (Main Message)
- Keep it short and impactful (e.g., “Grand Opening! 50% Off This Weekend!”)
- Use bold, easy-to-read fonts (Sans-serif fonts like Montserrat or Open Sans work well).
- Make sure the text is large enough to be seen from a distance.
Subtext (Additional Info)
- Add smaller details like dates, location, or contact info (e.g., “Saturday, 12th Feb | High Street, Essex”).
- Keep it brief—too much text can overwhelm viewers.
Branding Elements
- Upload your logo: Click “Uploads” > “Upload Files” and select your logo.
- Match brand colors: Use Canva’s color picker to maintain consistency.
- Add social media handles or website: If space allows, include your website or a QR code linking to your business.
Pro Tip: Stick to two or three fonts max to keep the design professional and clean.
Step 4: Add Images & Graphics
Enhance your banner with relevant visuals:
- Product Photos: Showcase what you’re promoting.
- Icons: Use simple icons for quick communication (e.g., phone, website, social media icons).
- Shapes & Borders: Help separate text and make information stand out.
Important: Ensure any images used are high resolution (300 DPI) for sharp printing.
Step 5: Finalize Your Design & Check Alignment
Before downloading your design, review these key points:
✔ Spacing: Make sure text and images aren’t too close to the edges.
✔ Readability: Stand back and check if the message is clear from a distance.
✔ Contrast: Ensure text stands out against the background.
Pro Tip: Use Canva’s “Position” tool to align elements perfectly.
Step 6: Download Your Banner for Printing
Once you’re happy with your design, it’s time to export it for printing.
- Click “Share” in the top right corner.
- Select “Download.”
- Choose “PDF Print” for the highest quality.
- Check the “Crop marks and bleed” box (this ensures no crucial design elements are cut off during printing).
- Click “Download.”
Now, your banner is ready to be printed professionally!
Step 7: Print Your Banner with Essex Banners
Once your design is complete, Essex Banners can bring it to life with high-quality outdoor banner printing. We offer:
✅ Weatherproof materials – Perfect for long-term outdoor use.
✅ High-resolution printing – Ensures vibrant and sharp designs.
✅ Fast turnaround times – Get your banner ready for your next event!
Upload your design today at essexbanners.com and let us handle the rest!